By Claire Whitaker
Updated November 2026
The Nespresso milk frother user manual covers setup, the correct fill levels, the frothing modes and basic cleaning. This guide walks you through each of those sections so you know what to look for, what to follow and what to skip. By the end, you will be able to froth milk for a latte or cappuccino with confidence.
What the Nespresso Milk Frother User Manual Covers
Most manuals for Nespresso frothers are short, usually a few pages of diagrams and bullet points. Start with the safety section, then move to the parts diagram, the control panel guide and the cleaning instructions. The troubleshooting table at the back is worth bookmarking, but you rarely need it if you follow the setup steps closely. For a broader view of how the frother works, see How Does Nespresso Milk Frother Work? A Simple Explainer for Home Baristas.
Shopping for one? See our guide: 6 Best Nespresso Machines with Milk Frother for Home Use (2026).
Step 1: Set Up the Frother Correctly
Before the first use, the manual typically asks you to remove packaging, wash the removable parts and dry them completely. Assemble the whisk or frothing disc according to the diagram, and make sure it sits fully seated. A loose part is the most common reason for weak foam.
Step 2: Fill to the Right Level and Choose a Mode
The user manual lists minimum and maximum fill lines. Stay between them, since overfilling can cause milk to spill and underfilling gives thin, uneven foam. Choose the mode that matches your drink: a cold setting for cold foam and a hot setting for lattes or cappuccinos.
Basic Fill Checklist
- Use cold milk straight from the fridge unless the manual says otherwise.
- Pour to the marked fill line, not above it.
- Select the frothing mode on the control panel.
- Start the cycle and wait for the indicator to signal completion.
- Tap the frother gently on the counter to release large bubbles before pouring.
Step 3: Clean the Frother After Each Use
The cleaning section of the manual usually recommends rinsing right after frothing and running a short cleaning cycle with water. Milk residue dries quickly, so rinsing within a few minutes saves you scrubbing later. For a more thorough routine, follow Nespresso Cleaning Milk Frother: Step-by-Step Care Guide.
Cleaning Tips from the Manual
- Never submerge the base or motor unit unless the manual explicitly allows it.
- Remove the whisk and rinse it separately.
- Let all parts air dry before reassembling.
Common Mistakes
- Skipping the fill-line check, which leads to overflow or weak foam.
- Using milk that is too warm, which produces large, unstable bubbles.
- Forgetting to seat the whisk properly after cleaning.
- Ignoring the indicator light, which can signal a problem the manual describes.
- Letting milk dry on the parts between uses.
Recommended Gear
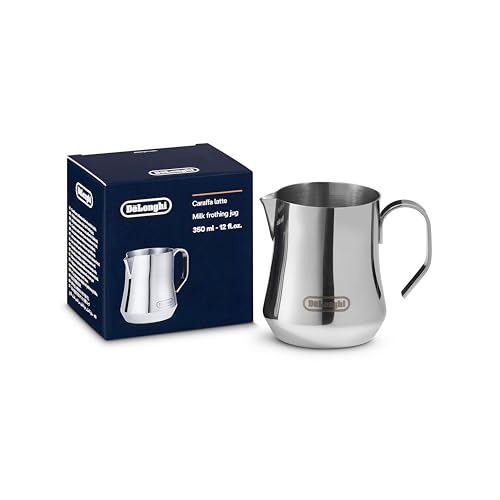
A thermometer makes it easier to hit the temperature range your manual recommends, and a small soft brush helps clean the whisk without scratching it. A stainless steel pitcher is also useful for pouring cleanly after frothing. View on Amazon View on Amazon
FAQ
Where can I find the Nespresso milk frother user manual if I lost mine?
Nespresso publishes manuals for its products on its official support website. Enter your model name or product number to download the current PDF. Check the official site for the latest version.
Can I use non-dairy milk with the frother?
Many manuals list specific milk types they support, so check that section before trying alternatives. Some plant-based milks froth well while others produce thin foam.
Why does the frother seem to run longer than expected?
Cold milk and a full fill level can extend the cycle. Confirm the milk amount and temperature match the manual, and see the troubleshooting section if the cycle keeps running.
Conclusion
The Nespresso milk frother user manual is short, but following its setup, fill and cleaning steps closely makes a noticeable difference in foam quality. Keep the manual nearby for the first few uses, then rely on the routine you build. If something goes wrong, the troubleshooting section is the next place to look.
Related reading
- Parts for Nespresso Milk Frother: Identify, Replace and Maintain Them
- Nespresso Vertuo with Milk Frother: Make Café Drinks at Home
- Nespresso Milk Frother: How to Get Silky Foam at Home
Ready to choose one?
About Claire Whitaker
Claire Whitaker is part of our editorial team and reviews and edits our coffee gear & accessories guides, checking product details against manufacturer specifications and owner feedback.