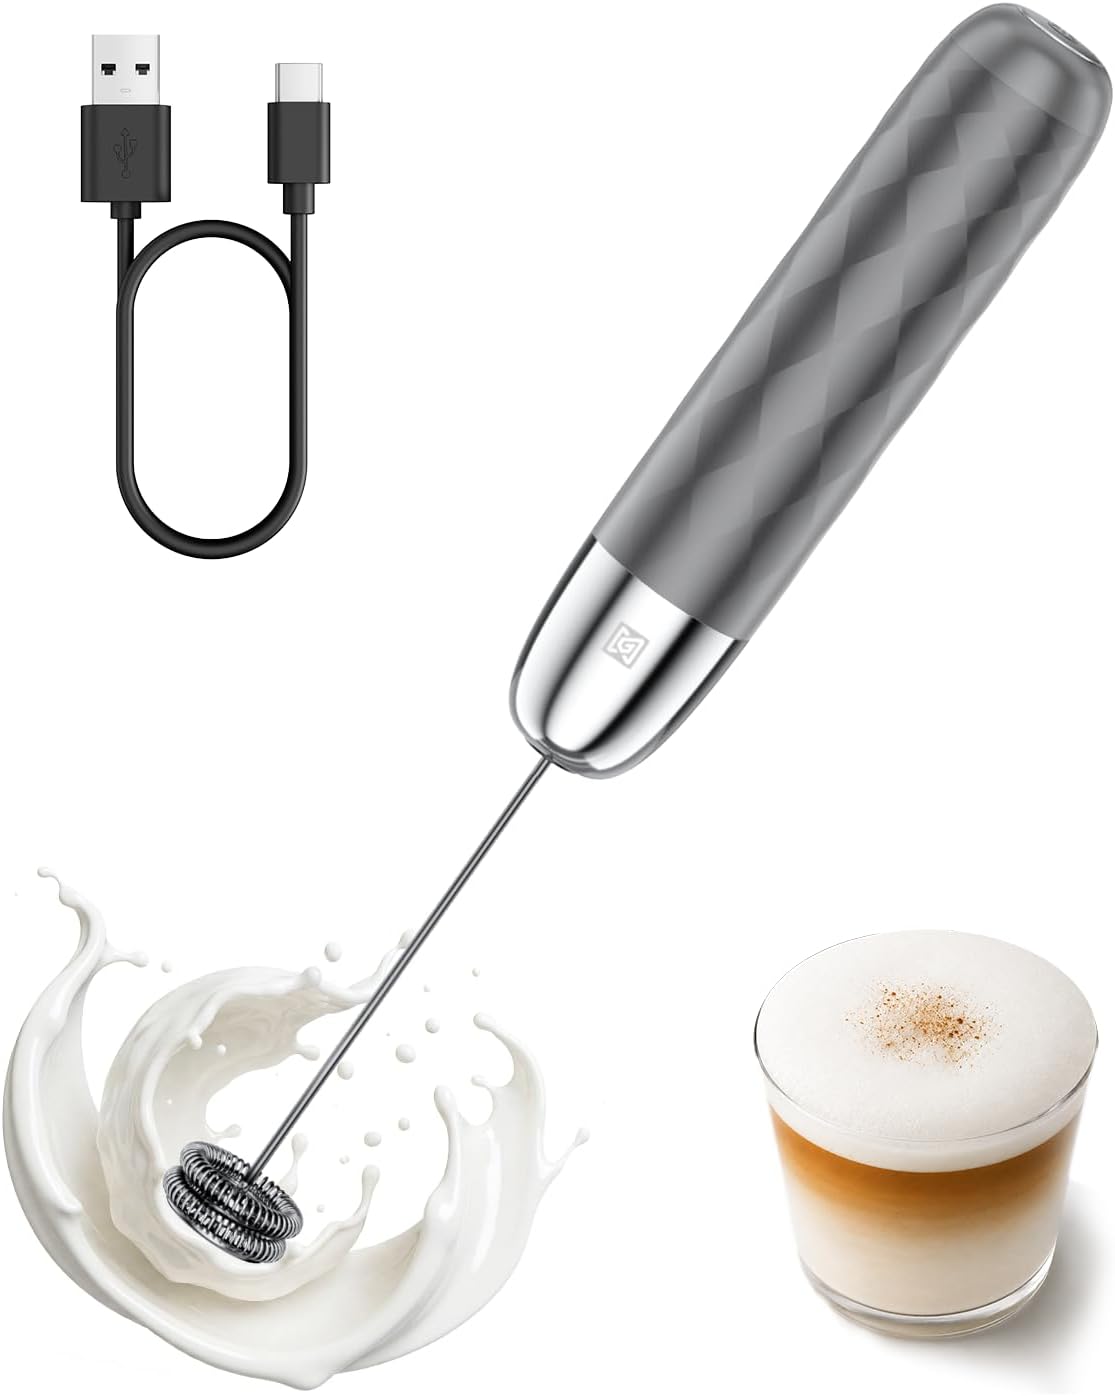
To make a latte with smooth microfoam and to pour latte art, you need to steam milk correctly. The process involves stretching the milk to add air, then texturing it to create a silky consistency, all while keeping the temperature in the right range. This guide walks you through every step, from equipment to pouring a simple heart design.
What You Need
Before you start, gather a few essentials. You will need an espresso machine with a steam wand, cold fresh milk (whole or 2% are easiest to work with), and a stainless steel milk pitcher. A milk frothing thermometer helps you hit the target temperature consistently, though you can rely on touch once you learn the feeling. Keep a damp cloth handy to wipe the steam wand after each use.
For latte art, a pitcher with a narrow spout gives you more control. Look for one that feels balanced in your hand and holds enough milk for your drink size—typically a 12- or 20-ounce pitcher works well for a single or double latte.
Step-by-Step Instructions for Steaming Milk
1. Start with Cold Milk and a Cold Pitcher
Cold milk straight from the refrigerator gives you more time to stretch and texture it before it reaches the target temperature. Chill the pitcher as well—a cold pitcher helps keep the milk cool longer during the initial stretching phase. Fill the pitcher so the milk surface sits just below the base of the spout. This leaves room for the milk to expand as you add air.
2. Purge the Steam Wand
Before you place the wand in the milk, turn on the steam for a second or two to clear out any condensed water that has collected inside. Point the wand away from your hands and body—the blast of steam and hot water can burn you. Wiping the wand with a damp cloth after purging removes any residue from previous use.
3. Stretching Phase: Adding Air
Insert the steam wand tip just below the surface of the milk, at a slight angle so the steam naturally starts to spin the milk. You want the tip to be barely submerged—about a quarter-inch deep. As steam flows, you should hear a gentle tearing or paper-ripping sound. This is the air being incorporated into the milk. Hold the pitcher steady and let the milk level rise from the added air. This stretching phase should last only a few seconds, until the pitcher feels slightly warmer than the original temperature (around body temperature). If you hear a loud, aggressive bubbling, the tip is too high above the surface; lower it slightly. If you hear no sound at all, the tip is too deep; raise it a little.
4. Texturing Phase: Creating Microfoam
Once you have added enough air, lower the steam wand tip deeper into the milk—about a half-inch to an inch below the surface. The goal now is to mix the air bubbles into the milk and break them down into fine microfoam. You want the milk to spin vigorously in a whirlpool motion, which pulls the bubbles down and cuts them into tiny, creamy bubbles. Adjust the angle of the pitcher or the position of the wand to maintain a strong swirl. Keep the wand submerged so no additional air is added. Continue until the milk reaches the target temperature.
5. Targeting the Right Temperature
Milk tastes sweetest when heated between about 140°F and 155°F (60°C to 68°C). If you use a thermometer, clip it to the side of the pitcher with the tip in the milk. When the reading hits around 150°F, stop steaming. Without a thermometer, use your hand on the side of the pitcher: the milk is ready when the pitcher feels hot to the touch but not too hot to hold for more than a few seconds. The moment you see any tiny bubbles starting to form on the surface (near boiling), you have gone too far. Boiling the milk will cause it to scald, ruin the sweetness, and break down the foam. Stop steaming immediately.
6. Tap and Swirl
After steaming, turn off the steam and remove the pitcher. Gently tap the bottom of the pitcher against the counter a few times to pop any larger bubbles that remain on the surface. Then swirl the milk in a circular motion to blend the foam and liquid into a uniform, glossy texture. The milk should look like wet paint—smooth and creamy with a mirror-like sheen. If there are still visible bubbles, tap and swirl again. Now the milk is ready to pour.
7. Pouring Basics for Latte Art (Heart)
To pour a simple heart, hold the pitcher about an inch above the espresso in your cup and pour a steady stream into the center. The crema will begin to lighten as the milk mixes. When the cup is about halfway full, lower the pitcher’s spout close to the surface and pour more forcefully—this pushes the foam to the surface. As you see a white circle forming (the heart), slowly move the pitcher backward while tilting it upright to create a thin stream that cuts through the circle, forming the tip of the heart. Practice is key; expect imperfect results at first.
Plant Milks and Other Alternatives
Oat milk and soy milk that are barista-style or designed for steaming can produce decent microfoam, but they behave differently than dairy. They may need a shorter stretching phase and a lower temperature to prevent separation or curdling. Almond milk and coconut milk are more challenging; they tend to split or produce a watery foam. If you use plant milk, look for a version labeled “barista blend” and keep the temperature lower (around 140°F or less). Experiment with the same technique but adjust the stretching time and stop heating sooner.
Common Mistakes
- Overheating the milk. Milk that gets too hot loses sweetness and produces large, flat bubbles. Stop steaming when the pitcher feels hot but not painful to hold.
- Adding too much air during the stretch. This creates thick, stiff foam that sits on top of the drink rather than blending in. Aim for a gentle tearing sound and only stretch until the milk is slightly warm to the touch.
- Adding too little air. You end up with thin, watery milk that does not hold any texture. If your latte art sinks into the crema immediately, you likely did not add enough air.
- Not purging the steam wand. Residual water in the wand can dilute your milk and cause sputtering. Always purge briefly before inserting the wand into milk.
- Not wiping the wand after use. Dried milk on the wand can clog the steam holes and create a hygiene issue. Wipe the wand with a damp cloth immediately after each steaming session and purge again to clear the tip.
Troubleshooting
I have large bubbles on top of my milk.
Large bubbles mean the steam tip was too high above the surface during stretching, or you stretched for too long. Try keeping the tip just below the surface and reduce the stretch time. Tapping and swirling the pitcher after steaming can pop some bubbles, but proper technique minimizes them from the start.
My milk has no foam at all.
This usually happens when the steam wand tip is submerged too deep during the entire steam cycle, preventing any air from being incorporated. Make sure you start with the tip near the surface and listen for the tearing sound. Also check that your steam wand is producing enough pressure—if it sputters or barely steams, the machine may need descaling or the wand holes may be blocked.
The milk separates into foam and liquid layer.
Insufficient texturing is the cause. After adding air, you must lower the wand and create a whirlpool to blend the foam into the milk. If you stop after the stretch phase, the foam will sit on top. Practice the texturing step until the milk looks uniform and glossy when you swirl it.
My latte art does not hold its shape.
Check the consistency of your steamed milk. It should be thick enough to float on the espresso but not so thick that it stays as a blob. If the milk is too thin, you need more stretching. If it is too thick, you over-stretched. Also make sure your espresso has a thick, dark crema that can support the milk. Old beans or poor extraction can result in thin crema that causes the design to disappear.
FAQ
What kind of milk is best for latte art?
Whole milk (around 3-4% fat) produces the richest microfoam and the most stable patterns. Reduced-fat milk can also work but yields a lighter, airier foam that is harder to control. Non-dairy milks labeled as barista-style can come close, though each behaves a little differently.
How do I clean the steam wand?
Immediately after each use, wipe the outside of the wand with a damp cloth. Then purge steam for a couple of seconds to blow out any milk that may have been drawn into the tip. Some machines require a quick purge before and after each use. Check your espresso machine’s manual for specific instructions. Periodically soak the tip in a descaling solution if milk deposits build up.
Can I steam milk without a thermometer?
Yes. Many baristas rely on the feel of the pitcher. When the pitcher becomes hot to the touch but not scalding, the milk is in the ideal range. If you can hold the bottom of the pitcher comfortably for a few seconds without burning your hand, it is probably around 150°F. Practice with a thermometer at first to calibrate your touch.
Why does my milk taste burnt?
Burnt milk flavor comes from overheating. Once milk goes well past the usual target range, it develops a cooked taste and the foam breaks down. Stop steaming when the pitcher is still comfortable to hold for a few seconds but clearly warm. Also avoid letting the milk come to a rolling boil.
Steaming milk well takes practice. Focus on the sound during stretching, the vortex during texturing, and the temperature at every stage. Once you master the basics, you can move on to pouring latte art and experimenting with different types of milk. For more on choosing the right equipment, explore the milk and frothing equipment guide.