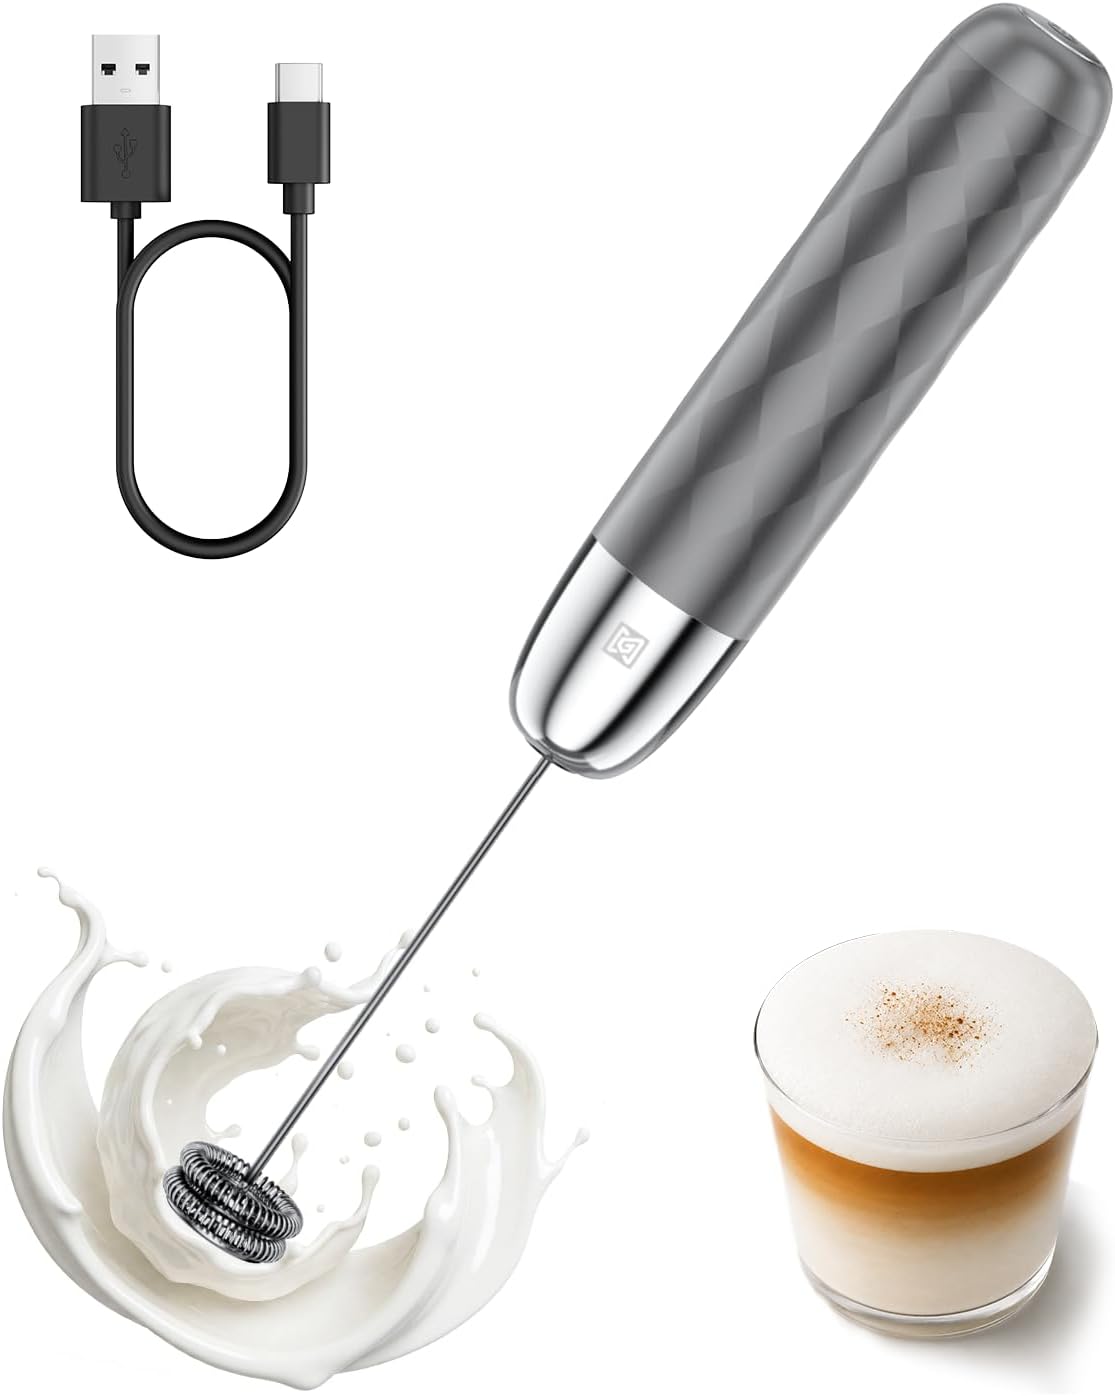
A manual milk frother gives you control over your milk foam without needing an espresso machine. Whether you have a plunger-style frother or a handheld whisk model, the technique is straightforward once you understand the basics. This guide covers how to heat milk properly, how to froth with each type, and how to get good results with plant-based milks.
What You Need
Before you start, gather the following items:
- A manual frother – either a plunger-style (like a French press but with a finer mesh) or a handheld battery-powered whisk.
- Fresh cold milk – whole milk produces the creamiest foam, but low-fat and plant milks also work with the right technique.
- A microwave-safe cup or a small saucepan for heating the milk.
- A thermometer (optional but helpful for consistency).
- A clean surface and a towel for tapping the frother.
How to Use a Plunger-Style Manual Frother
Plunger-style frothers consist of a glass or stainless steel beaker with a tight-fitting lid and a plunger with a fine mesh screen. They work by forcing hot milk through the mesh repeatedly, incorporating air to create foam.
Step 1: Heat the Milk
Pour the desired amount of milk into a microwave-safe cup or a small saucepan. Heat it until it is hot but not boiling – a common rule of thumb is to aim for around 150–160°F (65–70°C). If you do not have a thermometer, heat until steam rises and small bubbles form around the edges, but stop before the milk comes to a full boil. Overheating can scorch the milk and prevent good foam formation. Never heat milk in the frother itself unless the manufacturer explicitly allows it.
Step 2: Fill the Frother
Pour the heated milk into the frother beaker. Most plunger frothers have a fill line; if yours does not, fill it no more than halfway to two-thirds full. Leaving enough headspace allows the milk to expand as you pump and prevents overflow. Do not overfill, or you will end up with milk on your counter and very little foam.
Step 3: Pump the Plunger
Place the lid securely on the beaker. Hold the frother firmly and pump the plunger up and down in a steady, rhythmic motion. A typical pumping session lasts about 20 to 30 seconds. Start with slow, full strokes to incorporate air, then speed up slightly to refine the foam. You will feel resistance as the foam thickens. Avoid pumping too fast or too shallow – that can create large, unstable bubbles instead of microfoam.
Step 4: Tap and Swirl
After pumping, remove the lid and tap the beaker gently on the counter to pop any large bubbles. Then swirl the frother in a circular motion to integrate the foam and liquid milk. This step gives you a smoother, more uniform texture. Pour the frothed milk immediately over your espresso or coffee, holding back the foam with a spoon if you want layered drinks.
How to Use a Handheld Whisk Frother
Handheld whisk frothers are small battery-powered devices with a spinning whisk head. They are quick and easy to clean, but require a different technique.
Step 1: Heat the Milk
Heat the milk using the same guidelines as for the plunger frother – hot but not boiling. Pour the heated milk into a tall, narrow cup or a frothing pitcher. A narrow container helps the whisk create a vortex that incorporates air efficiently.
Step 2: Submerge and Whisk
Insert the whisk head into the milk, making sure it is fully submerged before turning it on. Turn on the whisk and move it in a gentle up-and-down motion while keeping the head below the surface. You can also tilt the cup slightly to create a whirlpool. Whisk for about 15 to 20 seconds, or until you see the milk double in volume and a thick foam forms. If you lift the whisk above the surface too early, you will create splashes and large bubbles.
Step 3: Finish and Serve
Turn off the whisk before removing it from the milk to avoid splattering. Tap the cup on the counter to settle the foam, then swirl gently. Pour the frothed milk over your coffee. Rinse the whisk head immediately under running water to prevent milk residue from drying on it.
Tips for Frothing Plant Milks
Plant-based milks behave differently than dairy because they have lower protein and fat content. For best results, choose barista editions of oat, soy, or almond milk – these are formulated to foam more reliably. Heat them gently; overheating can cause separation. The same pumping and whisking techniques apply, but you may need to pump or whisk a little longer. Some plant milks produce a thinner foam that settles quickly, so serve immediately. For more detailed guidance, see our guide on frothing oat, almond, and other plant milks.
Common Mistakes
- Overheating the milk. Milk that is too hot will not foam well and can scald. Always stop before boiling.
- Overfilling the frother. Too much milk leaves no room for expansion and causes messy overflow.
- Pumping too aggressively. Fast, shallow pumps create large bubbles instead of creamy microfoam. Use steady, full strokes.
- Skipping the tap and swirl. Without tapping, large bubbles remain on top; without swirling, the foam and liquid separate.
- Not cleaning immediately. Dried milk residue is hard to remove and can affect future frothing. Rinse right after use.
Troubleshooting
Foam is too thin or watery
This usually means the milk was not hot enough, or you did not pump or whisk long enough. Try heating the milk a bit more (still below boiling) and extending the frothing time by 10 to 15 seconds. Also check that your frother’s mesh or whisk head is clean – clogged screens reduce air incorporation.
Large bubbles instead of microfoam
Large bubbles form when you pump too fast or lift the whisk above the milk surface. Slow down your strokes and keep the whisk fully submerged. Tapping the container after frothing helps break some large bubbles, but preventing them in the first place is better.
No foam at all
If you get no foam, the milk may be too cold, or you may be using a milk that is not suitable for frothing (such as some plant milks without stabilizers). Try whole milk or a barista plant milk, and ensure the milk is heated to the recommended range. Also confirm that your frother is working correctly – for plunger types, the mesh should not be warped or missing.
FAQ
Can I use a manual frother for cold foam?
Yes, you can froth cold milk with both plunger and whisk frothers. Use cold milk straight from the refrigerator and froth for about 30 seconds. The foam will be airy but less stable than hot foam. Cold foam works well on iced coffee or cold brew.
How do I clean a manual milk frother?
For plunger frothers, separate the plunger from the lid and rinse all parts under warm water immediately after use. Use a soft brush to clean the mesh screen. Most are dishwasher-safe, but check the manufacturer’s instructions. For handheld whisks, rinse the whisk head under running water and wipe the handle. Never submerge the battery compartment. Allow all parts to air dry completely before reassembling.
Why does my plant milk separate when I heat it?
Plant milks can separate when overheated or when heated too quickly. Heat them gently over low heat or in short bursts in the microwave, stirring occasionally. Using a barista blend with added stabilizers helps prevent separation. If separation occurs, the milk is still safe to drink but will not froth well.
How long does frothed milk last?
Frothed milk is best used immediately. The foam will begin to deflate and separate within a few minutes. If you need to hold it for a short time, cover the container to keep it warm, but do not expect the same texture as fresh foam.
Mastering a manual milk frother takes a little practice, but the payoff is cafe-quality foam at home without expensive equipment. Focus on heating the milk correctly, using the right fill level, and refining your pumping or whisking rhythm. For more on frothing tools and techniques, explore our complete guide to milk frothing equipment and the overview of manual and handheld frothers.