By Claire Whitaker
Updated November 2026
A Nespresso milk frother Aeroccino turns cold or warm milk into foam in about a minute or two, so you can make lattes, cappuccinos and flat whites without a café steam wand. The key is choosing the right milk, filling the jug to the correct level and using the right setting for the foam you want. This guide walks through each step and the mistakes that most often lead to thin or bubbly results.
Choose the Right Milk and Fill Level
Whole milk gives the richest, most stable foam, and many owners report that it holds its texture longest. Skim milk froths to a lighter, airier foam, while oat and almond milks work but usually produce less volume. Look for barista-style or “for frothing” versions of plant milks, since they contain stabilizers that help them hold foam.
Shopping for one? See our guide: 6 Best Nespresso Machines with Milk Frother for Home Use (2026).
Fill the jug only to the marked level. The Aeroccino needs room for the milk to expand, so overfilling causes spills and uneven foam. For a single cappuccino, most people use around 120 to 150 ml of milk; check the markings on your jug, as fill lines vary by model.
Frothing Step by Step
- Pour cold milk into the jug up to the fill line. Fresh, cold milk froths more evenly than milk that has been sitting at room temperature.
- Attach the whisk-style frothing disc and place the jug on the base, making sure it sits flat.
- Select the foam setting. Use the hot-and-foamy option for cappuccinos and the cold-foam option for iced drinks.
- Press the start button and wait for the cycle to finish. Do not lift the jug while the disc is spinning.
- Tap the jug gently on the counter to pop any large bubbles, then pour the milk slowly behind a spoon to hold back the heavy foam.
Matching Foam to the Drink
For a latte, let the milk heat fully and pour less foam, roughly a thin layer on top. For a cappuccino, stop pouring when the foam has risen to a dense layer about as thick as your finger. Practice with the same milk a few times before judging the results, since foam texture depends on milk temperature and how long the jug sits after frothing.
Common Mistakes to Avoid
- Using warm milk. Cold milk gives more volume and a finer texture.
- Overfilling the jug, which blocks the disc and makes the foam collapse.
- Letting milk sit after frothing. Foam deflates within a few minutes, so pour right away.
- Skipping cleaning. Milk residue dries on the disc and affects the next batch, so rinse after every use.
- Using milk straight from a shaken carton. Let it settle so the cream rises evenly before pouring.
Recommended Gear
A small milk thermometer helps you stop the cycle at the right temperature, which matters for both taste and foam stability. Owners often pair the frother with a dedicated frothing pitcher for pouring control. A cleaning brush designed for narrow spaces reaches the disc and base where milk residue builds up.
- Milk thermometer for frothing: helps you check milk temperature before pouring. View on Amazon
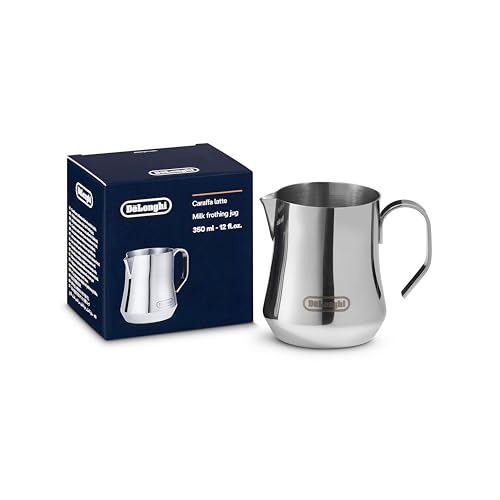
- Stainless steel frothing pitcher: gives you a controlled pour for latte art and layered drinks. View on Amazon
- Narrow cleaning brush set: reaches the frothing disc and base for thorough rinsing. View on Amazon
FAQ
Can I use plant-based milk in a Nespresso Aeroccino?
Yes, but choose a barista or frothing version labeled for foaming. Standard plant milks often separate or produce thin, short-lived foam.
Why is my foam bubbly instead of creamy?
Bubbly foam usually means the milk was too warm, the jug was overfilled, or the milk was not tapped to release large bubbles after frothing. Try colder milk and the correct fill line.
How often should I clean the frother?
Rinse the jug and disc after every use, and follow the manufacturer’s cleaning instructions for a deeper clean. Check your manual for the recommended schedule and any cleaning products to avoid.
Conclusion
Using a Nespresso milk frother Aeroccino well comes down to cold milk, the correct fill level and pouring promptly after the cycle ends. Once you match the foam style to the drink, the results become consistent. Keep the disc clean and experiment with different milks to find your preferred texture.
Related reading
- Nespresso Aeroccino Xl Milk Frother: How to Get Foam Right (Step by Step)
- Parts for Nespresso Milk Frother: Identify, Replace and Maintain Them
- Nespresso Vertuo with Milk Frother: Make Café Drinks at Home
- Nespresso Milk Frother: How to Get Silky Foam at Home
- Nespresso Cleaning Milk Frother: Step-by-Step Care Guide
- Zulay Kitchen Handheld Milk Frother: How to Get Foam at Home
Ready to choose one?
About Claire Whitaker
Claire Whitaker is part of our editorial team and reviews and edits our coffee gear & accessories guides, checking product details against manufacturer specifications and owner feedback.