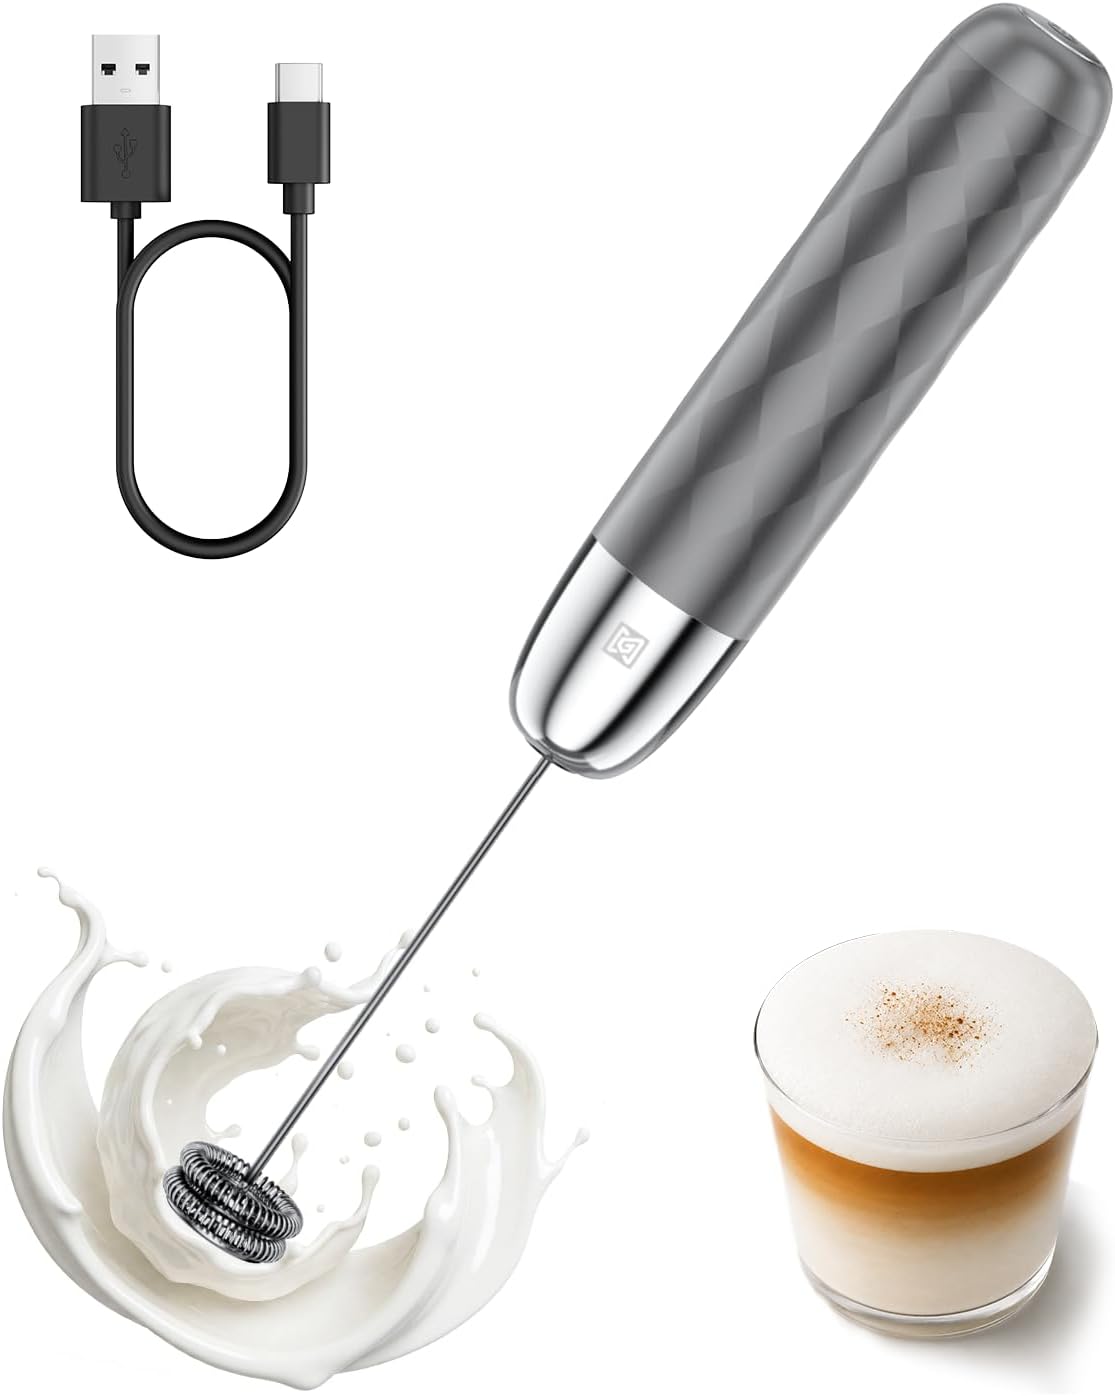
A milk frothing pitcher is a central tool for steaming milk at home. The size, spout shape, and material of the pitcher affect how you stretch milk and pour latte art. This guide covers the key factors to consider when choosing a pitcher for your home coffee setup.
Pitcher Sizes and Fill Levels
Milk frothing pitchers come in a range of sizes, typically from small capacities suited for a single espresso drink up to larger sizes for multiple drinks or batch steaming. Choosing the right size depends on the drinks you make most often.
A common rule of thumb for filling a pitcher is to add milk up to the base of the spout. This leaves enough room for the milk to expand and spin as you introduce steam, without overflowing. If you fill the pitcher too high, the milk will spill over during stretching. If you fill it too low, the steam wand may not be submerged deeply enough to create proper texture.
Matching the pitcher size to your drink volume helps you avoid waste and achieve better results. For a single latte or cappuccino, a smaller pitcher gives you better control over the depth of the milk. For making two drinks at once, a medium pitcher is a practical choice. A large pitcher is useful for steaming larger volumes of milk for multiple drinks or for recipes that require more milk.
| Pitcher Size | Typical Use | Fill Level Guidance |
|---|---|---|
| Small | Single espresso drink | Fill to the base of the spout |
| Medium | Two drinks or larger single drinks | Fill to the base of the spout |
| Large | Multiple drinks or batch steaming | Fill to the base of the spout |
A common mismatch is using a pitcher that is too large for the amount of milk you need. When you steam a small volume of milk in a large pitcher, the milk stretches too quickly and can become thin and bubbly. Using a pitcher that is too small can make it difficult to submerge the steam wand properly. Choosing a size that matches your typical drink volume helps you avoid these issues.
Spout Shapes and Latte Art
The shape of the spout determines how the milk flows when you pour. Different spout shapes offer different levels of control, especially for latte art.
A pointed spout is designed for detailed latte art. It allows you to pour a thin, controlled stream of milk, which is useful for creating patterns like rosettas, tulips, and swans. If you are learning latte art, a pitcher with a sharp, defined spout can help you develop better control.
A rounded or bell-shaped spout is more forgiving for general pouring. It produces a wider stream of milk, which is well suited for cappuccinos or for pouring milk over a full cup of coffee without disturbing the crema too much. Many beginners start with a rounded spout before moving to a pointed spout for art.
Some pitchers feature a spout that is angled or curved to help you pour more naturally. The best spout shape for you depends on the style of drink you make and how much control you want over the milk stream.
Materials: Stainless Steel vs. Coated Pitchers
The material of the pitcher affects how it handles heat, how easy it is to clean, and how long it lasts. The two main options are stainless steel and coated pitchers.
Stainless steel pitchers are durable and heat evenly. They are compatible with magnetic thermometer clips, which is a useful feature for monitoring milk temperature. Stainless steel requires regular cleaning to prevent milk stone buildup. You can clean stainless steel with mild detergent and a soft cloth. Avoid abrasive pads that can scratch the surface.
Coated pitchers have a non-stick or colored coating on the inside or outside. The coating makes cleaning easier because milk residue slides off more readily. However, the coating can chip or wear over time, especially if you use metal tools or abrasive cleaners. If the coating begins to chip, it is time to replace the pitcher.
When cleaning either type of pitcher, rinse it with cold water immediately after use. Hot water can bake milk proteins onto the surface, making them harder to remove. Use a mild detergent and a soft sponge, then dry the pitcher promptly. Follow the manufacturer’s instructions for cleaning and descaling to keep your pitcher in good condition.
Handle vs. Handleless Pitchers
The choice between a handle and a handleless pitcher comes down to personal preference and technique. Both have advantages.
A pitcher with a handle keeps your hand farther from the steam wand and the hot milk. This can be more comfortable for beginners or for those who prefer a balanced feel. The handle gives you a secure grip while you steam and pour.
A handleless pitcher requires you to grip the body of the pitcher directly. This gives you a closer connection to the pitcher and can provide more precise control when pouring latte art. Some baristas prefer them because they allow subtle adjustments in the pour. However, the pitcher can become warmer to the touch during steaming, so you may need to hold it closer to the base.
Try both styles if you have the opportunity. The right choice depends on what feels most stable and comfortable in your hand.
Useful Features: Measurement Lines and Thermometer Clips
Some pitchers include measurement lines on the inside. These lines help you track your fill level accurately, which is especially useful when you are learning to steam milk. Measurement lines can help you consistently fill to the base of the spout or to a specific volume for your drink.
A thermometer clip is a practical addition to any pitcher. It holds a thermometer in place so you can monitor the milk temperature while you steam. The clip attaches to the side of the pitcher, and the thermometer tip should be submerged in the milk without touching the bottom of the pitcher. Using a thermometer helps you heat milk to the ideal temperature range without overheating or underheating. Check the manufacturer’s instructions for your thermometer and pitcher to ensure a secure fit.
If you are using an electric milk frother, the pitcher design is often built into the machine. For manual steaming with an espresso machine, a separate pitcher with these features gives you more control. You can find more details on different types of frothing equipment in the guide to milk and frothing equipment.
Cleaning Milk Residue Promptly
Cleaning your milk frothing pitcher promptly after each use is important for hygiene and for the longevity of the pitcher. Milk residue can quickly become baked onto the surface if left to dry, especially if the pitcher is still warm.
Rinse the pitcher with cold water immediately after you finish steaming. Cold water helps prevent milk proteins from sticking to the metal or coating. After rinsing, wash the pitcher with mild detergent and a soft sponge or cloth. Pay attention to the spout and the rim, where residue can collect.
Dry the pitcher thoroughly with a clean towel. Avoid letting it air dry, as water spots or mineral deposits can form. If you notice a white buildup on the inside of your pitcher, this is likely milk stone. You can remove milk stone by soaking the pitcher in a solution recommended by the manufacturer. Follow the cleaning instructions provided with your pitcher to avoid damaging the material.
For more detailed steps on steaming milk, see the guide on how to froth milk at home without an espresso machine wand.
Top Picks to Compare
If you would rather start from a short list, these are popular options on Amazon for this search. Check each listing’s details, size and current price before you buy.


FAQ
How much milk should I put in my frothing pitcher?
A common rule of thumb is to fill the pitcher to the base of the spout. This allows enough room for the milk to expand and spin during steaming without overflowing.
What size pitcher is best for latte art?
A medium-sized pitcher with a pointed spout is a common choice for learning latte art. It gives you enough volume for one or two drinks and the pointed spout helps with detailed pouring.
Can I use a regular pitcher for frothing milk?
It is better to use a pitcher designed for steaming milk. A proper milk frothing pitcher has a shape that helps the milk spin while steaming and a spout shaped for controlled pouring.
How do I clean a milk frothing pitcher?
Rinse the pitcher with cold water immediately after use, then wash it with mild detergent and a soft sponge. Dry it promptly to prevent water spots and milk stone buildup.
Choosing the right milk frothing pitcher depends on the drinks you make, your skill level, and your cleaning routine. Focus on a size that matches your typical drink volume, a spout shape that suits your pouring style, and a material that fits your maintenance preferences. With the right pitcher, you can steam milk more consistently and improve your home coffee drinks. For more information on selecting pitchers, visit the main guide on milk pitchers. If you are considering an automated option, the guide to electric milk frothers covers another approach to frothing milk at home.