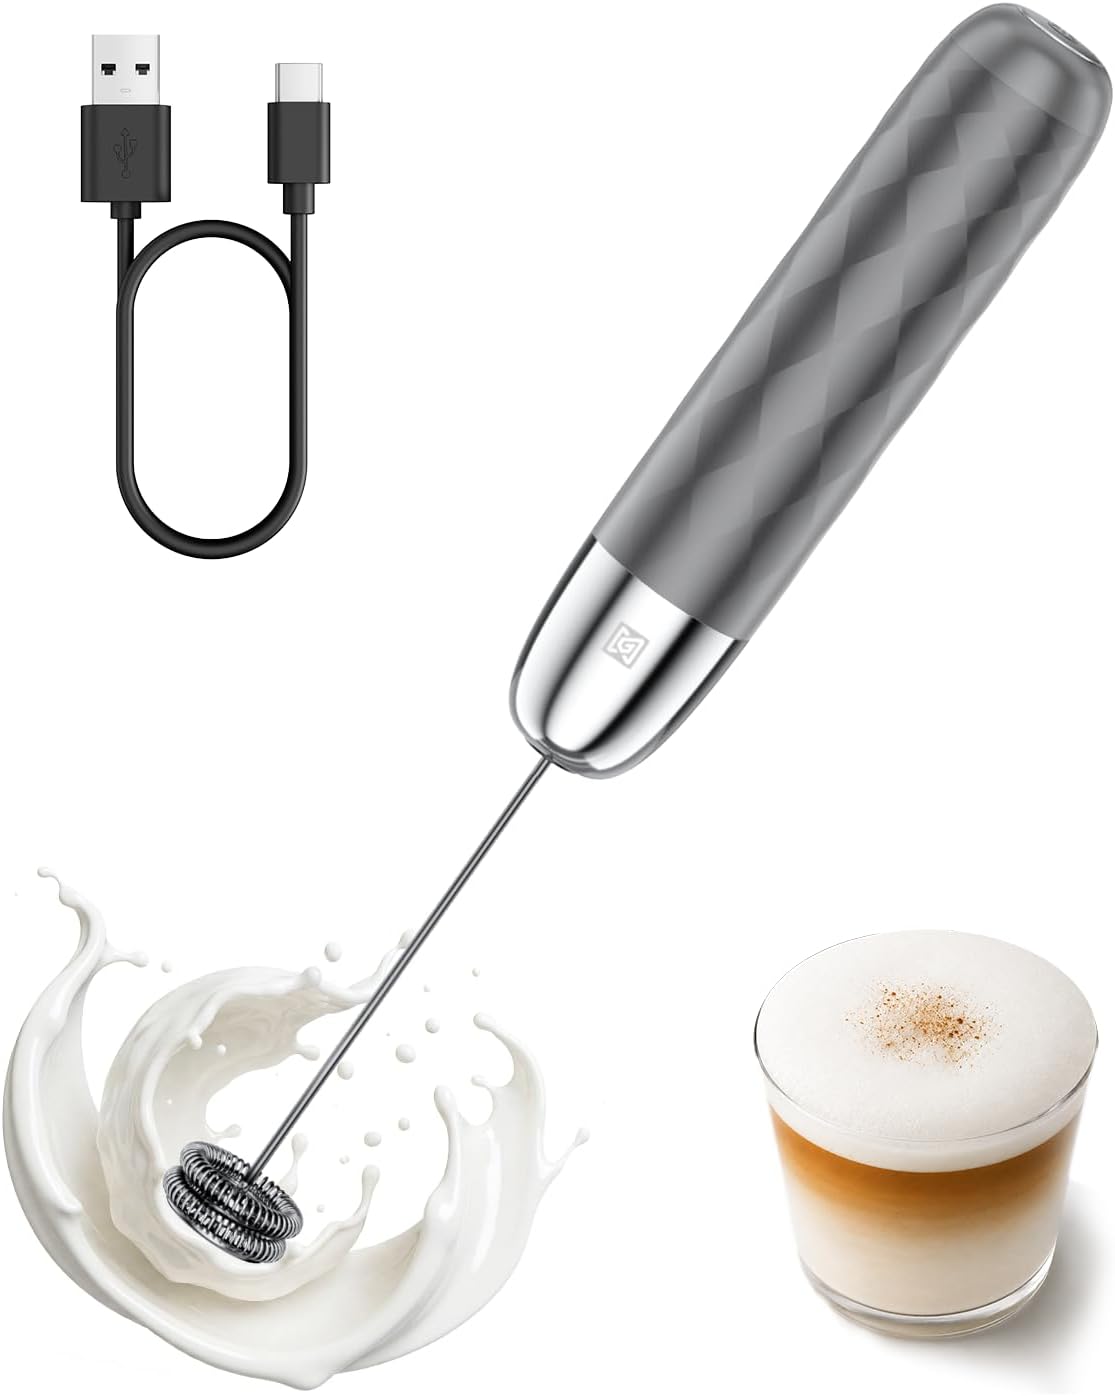
Frothing plant-based milks can be tricky because their protein and fat content differ from dairy, and many contain stabilizers that affect foam. The good news is that with the right technique and a suitable milk choice, you can create creamy, stable foam for lattes, cappuccinos, and other drinks. This guide explains why plant milks behave differently, which types foam best, and how to froth them using a steam wand or an electric frother. You will also learn how to avoid common problems like separation, scorching, and curdling in hot coffee.
Why Plant Milks Foam Differently
Foam forms when air is incorporated into milk and trapped by proteins. Dairy milk has a balanced ratio of casein and whey proteins that create stable bubbles. Plant milks, by contrast, have different protein structures. Oat milk, for example, is often made with enzymes that break down oat starches, which helps give it a creamy texture, but its protein content is lower than dairy. Almond milk has very little protein, which can make foam thin and watery. Soy milk contains protein similar to dairy, making it one of the best plant options for frothing, but it can curdle if overheated.
Added stabilizers and emulsifiers also play a role. Many plant milks include gums (such as guar or gellan) and lecithin to improve texture and prevent separation. These ingredients can help foam hold its shape, but they can also make the milk more prone to scorching if you heat it too high. Barista-style plant milks are formulated with extra protein and stabilizers specifically to produce a thick, stable foam that blends well with espresso.
Choosing the Right Plant Milk for Frothing
Not all plant milks are created equal when it comes to frothing. Look for products labeled “barista edition” or “barista blend.” These are designed to steam and froth more like dairy milk. They typically have a higher protein content and added emulsifiers that create a silky microfoam. Standard refrigerated or shelf-stable plant milks can still be frothed, but the results may be less consistent, with larger bubbles and a thinner texture.
If you prefer a specific type, here is a general guide to how each behaves:
- Oat milk – Often produces a creamy, smooth foam that is similar to dairy. It is less likely to separate when heated correctly. Barista oat milk is widely available and works well with both steam wands and electric frothers.
- Almond milk – Tends to produce a thin, airy foam that dissipates quickly. It can separate if overheated. Some barista almond milks include added protein to improve foam stability.
- Soy milk – One of the best for frothing because of its protein content. It can create a thick, stable foam, but it is more prone to curdling in acidic coffee or if heated above a certain temperature.
- Coconut milk – Often sold as a canned or carton beverage. It produces a rich, thick foam but can be greasy and separate easily. It works best in small quantities and pairs well with chocolate or spicy flavors.
Because formulations vary widely by brand, you may need to experiment to find one that works for your equipment and taste preferences. Start with a barista-style product if you want the most reliable results.
How to Froth Plant Milk: Step by Step
The technique differs slightly depending on whether you use a steam wand or an electric frother. Both methods require starting with cold milk and not overheating it. Plant milks can scorch or separate if heated above about 150°F (65°C), so aim for a temperature that is hot to the touch but not boiling. A thermometer can help, but you can also gauge by feel: when the pitcher becomes too hot to hold comfortably, it is likely too hot.
Using a Steam Wand
- Start with cold milk. Pour cold plant milk into a stainless steel pitcher, filling it no more than one-third full to allow room for expansion.
- Purge the steam wand. Before inserting the wand, briefly open the steam valve to clear any condensed water. Point the wand away from yourself and others to avoid burns.
- Position the wand tip. Submerge the tip just below the surface of the milk, near the side of the pitcher at a slight angle. This creates a vortex that incorporates air.
- Begin steaming. Open the steam valve fully. You should hear a gentle hissing or chirping sound as air is drawn into the milk. Do not let the tip sit above the surface or you will create large, messy bubbles.
- Stretch the milk. For the first few seconds, keep the tip near the surface to stretch the milk and create foam. Once the pitcher feels warm to the touch (around 100°F / 38°C), lower the tip deeper into the milk to heat it without adding more air. This step is called texturing.
- Monitor temperature. Stop steaming when the pitcher feels hot but not uncomfortable to hold (about 140–150°F / 60–65°C). Plant milk can quickly scorch if you go higher.
- Turn off steam and remove wand. Close the valve, then wipe the wand with a damp cloth. Purge it again briefly to remove any milk residue from inside the tip.
- Swirl and tap. Gently swirl the pitcher to incorporate any large bubbles. Tap the pitcher on the counter to pop remaining bubbles. The foam should look smooth and glossy.
For more detailed guidance on steam wand technique, see How to Steam Milk for Lattes and Latte Art.
Using an Electric Frother
Electric frothers are simpler but still require attention. Many models have a cold foam setting and a hot foam setting. For plant milk, use the hot setting if you want a warm drink, but be careful not to overheat. Some frothers automatically stop when the milk reaches a certain temperature, but others rely on a timer.
- Fill the frother. Pour cold plant milk up to the maximum fill line indicated in the manufacturer’s instructions. Overfilling can cause spills.
- Select the setting. Choose the hot foam setting. If your frother has a “latte” or “cappuccino” option, that usually produces a thicker foam.
- Start frothing. The frother will heat and whisk the milk. Listen for the sound; if it seems to be struggling, the milk may be too thick or the frother may be overfilled.
- Check the foam. When the cycle ends, open the lid carefully to avoid steam. The foam should be uniform. If it looks thin or watery, you may need to try a different milk or a shorter cycle.
- Pour immediately. Plant milk foam can deflate faster than dairy, so pour it into your coffee right away. Gently spoon any remaining foam on top.
For more on choosing and using an electric frother, see Electric Milk Frothers and other milk frother guides.
Frothing Different Types of Plant Milk
Each plant milk requires slight adjustments. Here is what to expect and how to adapt.
Oat Milk
Oat milk is one of the most forgiving plant milks. It froths easily and produces a creamy, sweet foam. The main risk is overheating, which can cause it to become slimy or separate. Keep the steam wand tip submerged and stop heating as soon as the pitcher feels hot. Barista oat milk often contains added oil and stabilizers that make the foam even more stable.
Almond Milk
Almond milk is thin and can produce large, unstable bubbles. To get better foam, use a barista-style almond milk or add a small amount of another milk like oat or soy. Steam at a lower angle to create a stronger vortex, and avoid over-aerating. Almond milk also separates quickly, so pour your drink soon after frothing.
Soy Milk
Soy milk can create a thick, stiff foam similar to dairy, but it is sensitive to heat and acidity. Use a gentle steaming technique and stop at a lower temperature (around 140°F / 60°C) to avoid curdling. Soy milk also tends to form a skin if overheated. If you see small clumps, the milk has curdled and should be discarded. Some soy milks are specifically formulated for barista use and handle heat better.
Coconut Milk
Coconut milk from a carton (not canned) can produce a rich, thick foam, but it may separate into a watery layer and a fatty layer. Shake the carton well before pouring. Steam gently and do not overheat, as high heat can cause the fat to separate. Coconut milk foam works well in small lattes or flavored drinks, but it may not hold up for larger cappuccinos.
Preventing Curdling in Hot Coffee
Plant milks, especially soy and almond, can curdle when added to hot, acidic coffee. This happens because the acidity of the coffee causes the proteins in the milk to coagulate. To reduce the risk:
- Warm the milk first. Adding cold milk to hot coffee increases the temperature shock. Frothing or heating the milk to around 140°F (60°C) before pouring helps it blend more smoothly.
- Pour the milk first. Adding milk to the cup before the coffee can help temper the acidity. Alternatively, pour the coffee slowly into the milk while stirring.
- Choose a lower-acidity coffee. Dark roasts and coffees from certain origins (like Brazil or Sumatra) tend to be less acidic. Cold brew also has lower acidity and is less likely to cause curdling.
- Use a barista-style plant milk. These are formulated with stabilizers that resist curdling in acidic conditions.
If your milk still curdles, try a different brand or type. Oat milk and coconut milk are generally less prone to curdling than soy or almond milk.
Common Mistakes and Troubleshooting
Foam is too thin or watery
This often happens with almond or rice milk, which lack enough protein. Switch to a barista blend or mix in some oat or soy milk. Also check that you are starting with cold milk and not overheating it.
Foam has large bubbles
Large bubbles usually mean the steam wand tip was too high above the milk surface during the stretching phase. Submerge the tip slightly deeper and create a stronger vortex. After steaming, tap the pitcher and swirl to break down bubbles.
Milk separates or becomes slimy
Overheating is the most common cause. Plant milks can scorch and separate if heated above 150°F (65°C). Use a thermometer or stop when the pitcher feels hot but not uncomfortable. Also make sure you are not over-aerating; too much air can destabilize the milk.
Milk curdles in coffee
As discussed above, warm the milk first, pour milk before coffee, or try a lower-acidity coffee. Some plant milks simply do not mix well with certain coffees, so experiment with different combinations.
Electric frother produces no foam
Check that the frother is clean and that you are using the correct setting. Some frothers have a separate “cold foam” option that does not heat. Also verify that the milk is fresh and not expired, and that you are not filling above the maximum line.
FAQ
Can I froth any plant milk?
Most plant milks can be frothed, but the quality of the foam varies. Barista-style blends are designed to produce stable foam. Standard refrigerated oat or soy milk often works, while thin milks like rice or flax may produce very little foam.
Why does my plant milk foam disappear quickly?
Plant milk foam tends to be less stable than dairy foam because of lower protein content. Using a barista blend, starting with cold milk, and not overheating can help the foam last longer. Pour the foam immediately after frothing.
Is it safe to use a steam wand with plant milk?
Yes, but follow the same safety precautions as with dairy milk. Always purge the steam wand before and after use, and point it away from your hand and body. The wand and milk can become very hot and cause burns. Wipe the wand immediately after each use to prevent milk residue from baking on.
Can I froth plant milk in a French press?
Yes, you can froth plant milk in a French press by warming the milk, then pumping the plunger rapidly for about 30 seconds. The results are similar to an electric frother but may produce larger bubbles. This method works best with oat or soy milk.
Frothing plant milk takes a little practice, but once you understand how different types behave and how to control temperature and aeration, you can make café-quality drinks at home. Start with a barista-style oat or soy milk, keep your equipment clean, and pay attention to heat. With these tips, you will be able to create smooth, creamy foam that complements your coffee without separation or curdling.